Updating the Database
This is usually not required as the VarFish team provides prebuilt databases and packaged data. In the case that you want to do this on your own, here is how to do this.
First, the tables that are to be updated should be generated. For this, follow the instructions in the VarFish DB Downloader repository.
At this point you should have a folder structure available that resembles:
varfish-db-downloader/
    GRCh37/
        <table_group>/
            <version>/
                <table>.tsv
                <table>.release_info
    GRCh37/
        [...]
    noref/
        [...]
    import_versions.tsv
    [...]
If the HPO and OMIM tables are supposed to be updated, it would look like this:
varfish-db-downloader/
    noref/
        hpo/
            20220126/
                Hpo.release_info
                Hpo.tsv
                HpoName.release_info
                HpoName.tsv
        mim2gene/
            20220126/
                Mim2geneMedgen.release_info
                Mim2geneMedgen.tsv
    import_versions.tsv
    [...]
Copy this structure on to the machine where the Docker compose is running. Take Docker compose down (this will shut down your VarFish instance!):
$ cd varfish-docker-compose  # make sure to be in the docker compose folder
$ docker-compose down
Modify the docker-compose.yml file by finding the following entry:
varfish-web:
  image: ghcr.io/varfish-org/varfish-server:VERSION
  env_file:
    - .env
  networks:
    - varfish
  restart: unless-stopped
  volumes:
    - "/root/varfish-server-background-db-20210728b:/data:ro"
  [...]
And add another volume that maps your directory into the container:
volumes:
  - "/root/varfish-server-background-db-20210728b:/data:ro"
  - type: bind
    source: varfish-db-downloader/
    target: /data-db-downloader
    read_only: true
Start docker compose again:
$ docker-compose up
Once done, attach to your container:
$ docker exec -it varfish-docker-compose_varfish-web_1 bash -i
Switch to the application directory and start the import:
varfish-web-container$ cd /usr/src/app
varfish-web-container$ python manage.py import_tables --tables-path /data-db-downloader
The output of the command should look something like this:
Disabling autovacuum on all tables...
Hpo -- Importing Hpo 2022/01/26 (, source: /data-db-downloader/noref/hpo/20220126/Hpo.tsv) ...
Mim2geneMedgen -- Importing Mim2geneMedgen 2022/01/26 (, source: /data-db-downloader/noref/mim2gene/20220126/Mim2geneMedgen.tsv) ...
Hpo -- Removing old Hpo results.
Mim2geneMedgen -- Removing old Mim2geneMedgen results.
Mim2geneMedgen -- Importing new Mim2geneMedgen data
Hpo -- Importing new Hpo data
Mim2geneMedgen -- Finished importing Mim2geneMedgen 2022/01/26 (Mim2geneMedgen.tsv)
Hpo -- Finished importing Hpo 2022/01/26 (Hpo.tsv)
HpoName -- Importing HpoName 2022/01/26 (, source: /data-db-downloader/noref/hpo/20220126/HpoName.tsv) ...
HpoName -- Removing old HpoName results.
HpoName -- Importing new HpoName data
HpoName -- Finished importing HpoName 2022/01/26 (HpoName.tsv)
Enabling autovacuum on all tables...
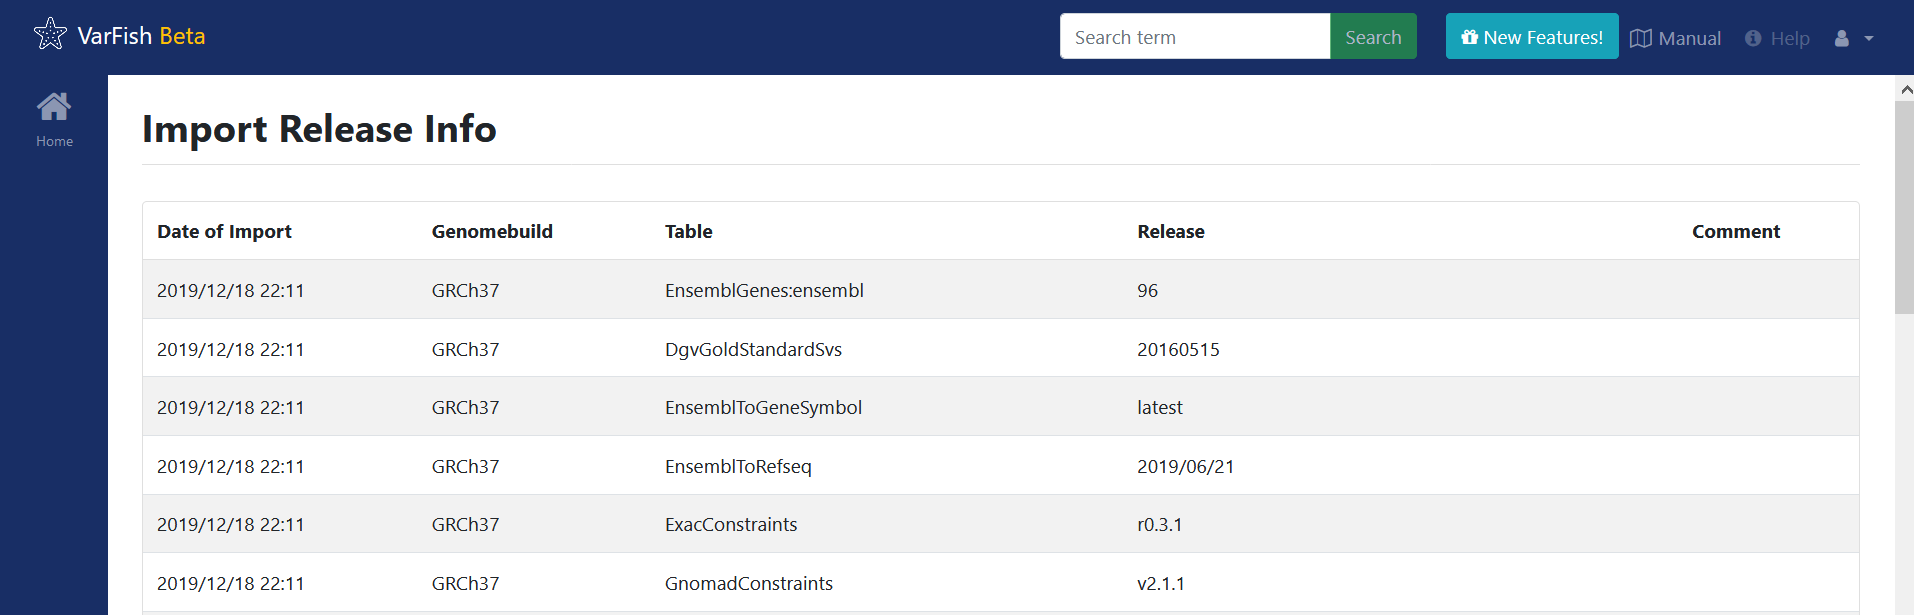
To verify the import, switch to the VarFish web interface, find the users menu
on the top right corner and select the Import Release Info entry. The
updated tables should have the latest version.